
Making Changes to Your Book
You can try a different theme for your book, add and rearrange photos, and edit text in
your book. To find out how to make even more changes to your book, see the topics in
iPhoto Help.
To change the theme of your book:
1
Click to select the book whose theme you want to change.
2
Click the Themes button in the toolbar.
3
Select a theme for your book from the scrolling themes list.
You can also change the type of book in this dialog. Choose an option (hardcover,
softcover, or wirebound softcover) from the Book Type pop-up menu.
4
Click Choose.
It’s a good idea to decide on a theme before adding text to a book layout. If you add
custom text to a book layout and then change themes, you may lose your text.
If you chose a hardcover book and want photos to be printed on only one side of the
book’s pages, click the Settings button and deselect the “Double-sided pages”
checkbox in the dialog.
Letting iPhoto Design Your Book for You
iPhoto can automatically design your book. To place all your selected photos on book
pages in the order they appear in your library or album, click the Autoflow button.

Chapter 2
Learn iPhoto
17
To add photos to your book:
1
Click to select an Event in your library or an album in the Source list.
2
Drag photos from the library or album to your book in the Source list.
3
Click to select your book in the Source list. iPhoto switches to book view.
4
Click the Photo Browser button to view all the photos for your book, including the new
ones you added.
The browser is a holding area, like a waiting room, for the photos you want to place in
your book.
5
Do one or more of the following to place photos in your book:
 To add a photo to an empty photo frame in your book, drag the photo from the
photo browser to the empty frame.
 To replace a photo in your book with a new photo, drag the new photo from the
photo browser to the photo you want to replace. The new photo replaces the old
photo.
 To add a photo to a page, first change the number of photos allowed on that page
by clicking Layout in the toolbar and choosing an option from the pop-up menu,
and then drag photos to the new empty frames.
 To add all unplaced photos to the book, click the Autoflow button. Pages are
automatically added as needed.
You can change the order of photos on an individual page or from one page to
another.
Photo Browser button
18
Chapter 2
Learn iPhoto
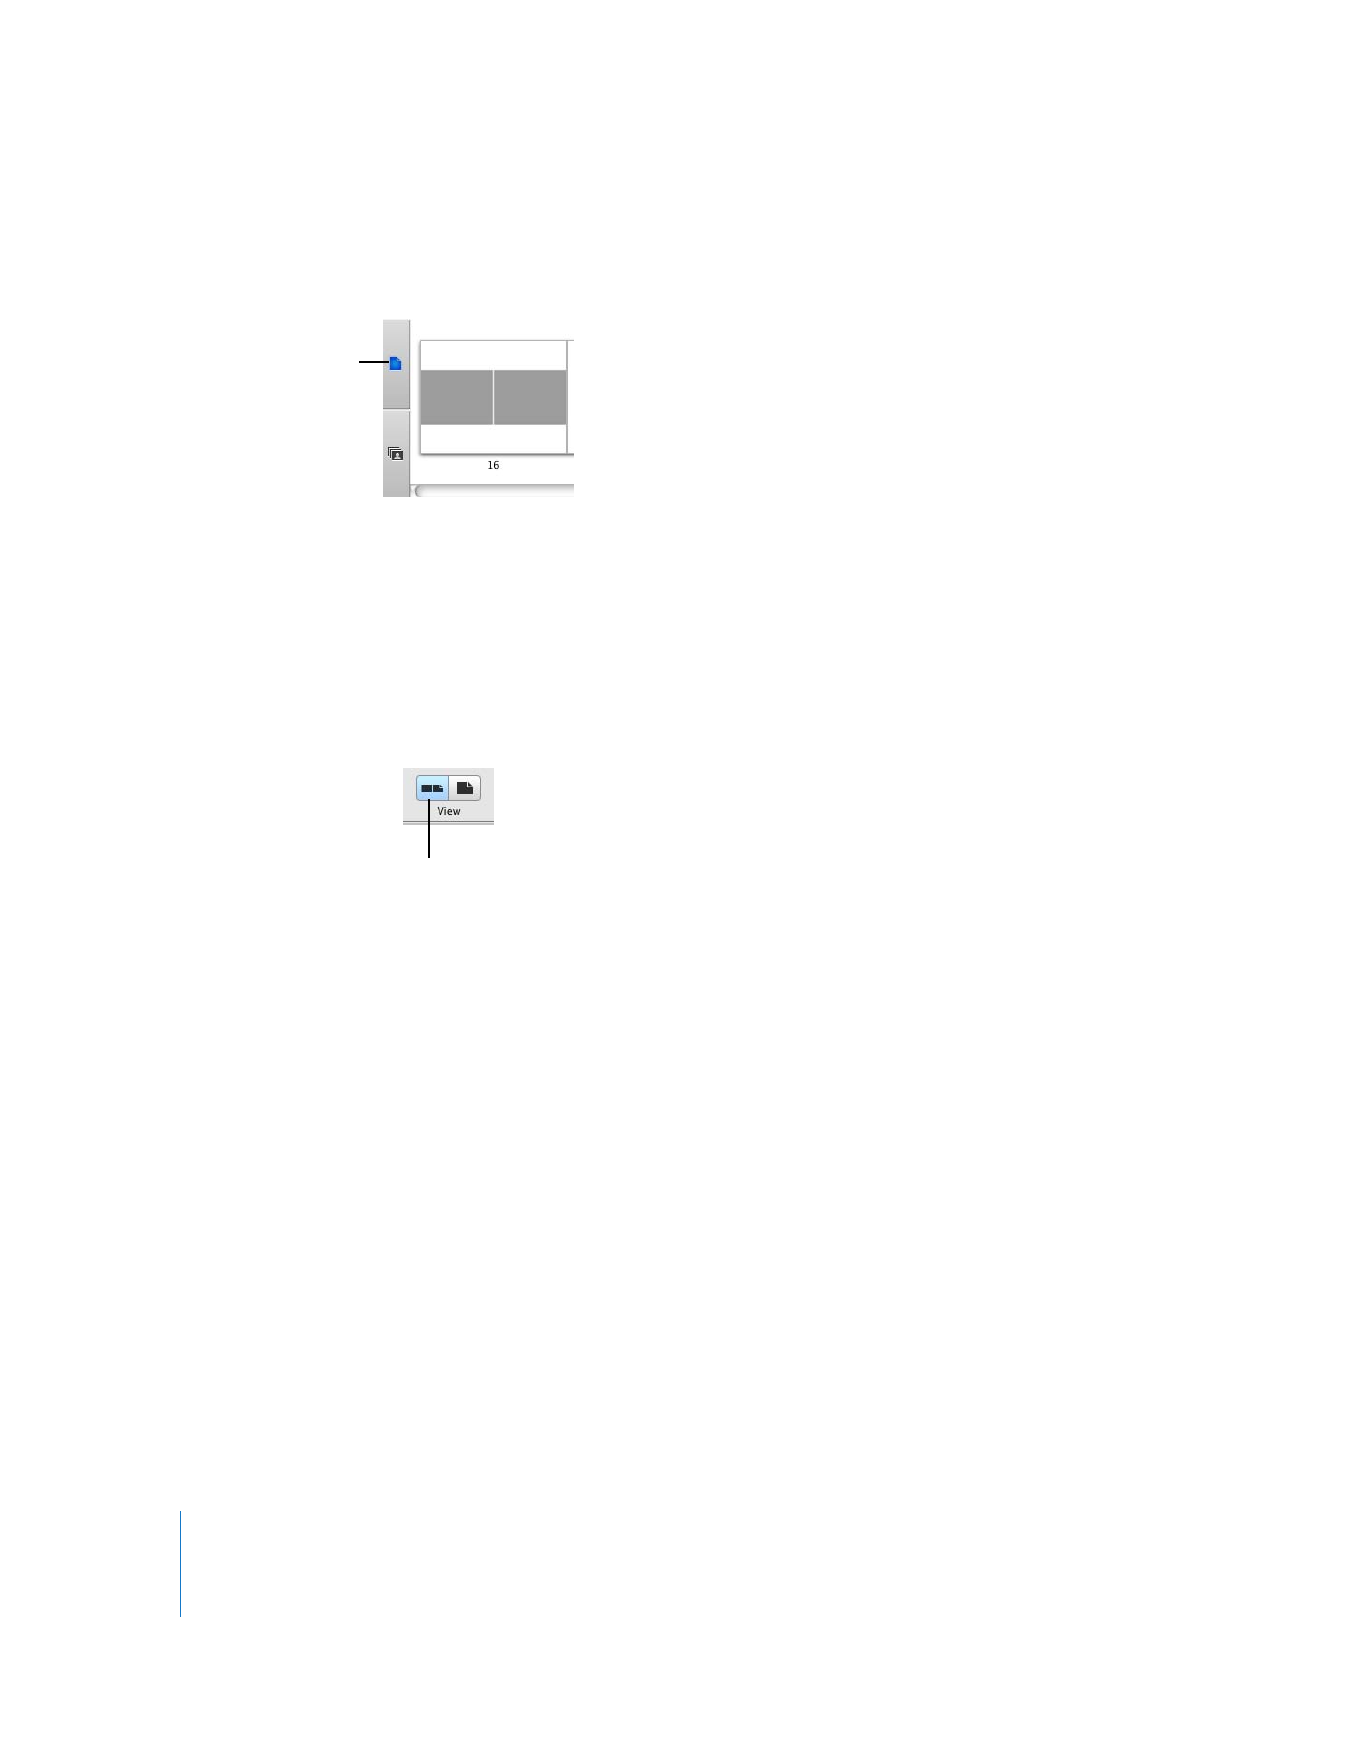
To rearrange photos in your book:
1
Click the Page View button to display book pages in the photo browser.
2
Do one of the following:
 To swap photos that appear on the same page, click to select the page in the photo
browser, and then, in the viewing area, drag one of the photos you want to swap to
another photo.
 To swap photos that appear in the same page spread, click the Two-Page View
button, click to select the page spread in the photo browser, and then drag one of
the photos you want to swap to another photo.
 To move a photo from one page to another, click to select the page on which the
photo appears in the photo browser, and then drag the photo from the viewing area
to a new page in the photo browser.