
Step 4: Create a Book
It’s easier to create a book in iPhoto than to print all your photos and paste them in a
scrapbook. And after you’ve created your masterpiece, you have a variety of options for
sharing: You can print it on a color printer, order it as a bound book, or even use it as
the basis for a more creative slideshow.
To create a book:
1
Select the photos you want to include in your book:
 To use an entire album, click the album in the Source list.
 To use a particular Event, click Events in the Source list, and then click the Event you
want to select in the viewing area.
 To select multiple photos in an album or Events in your library, open the album or
Event and hold down the Command (x) key as you click each photo you want.
2
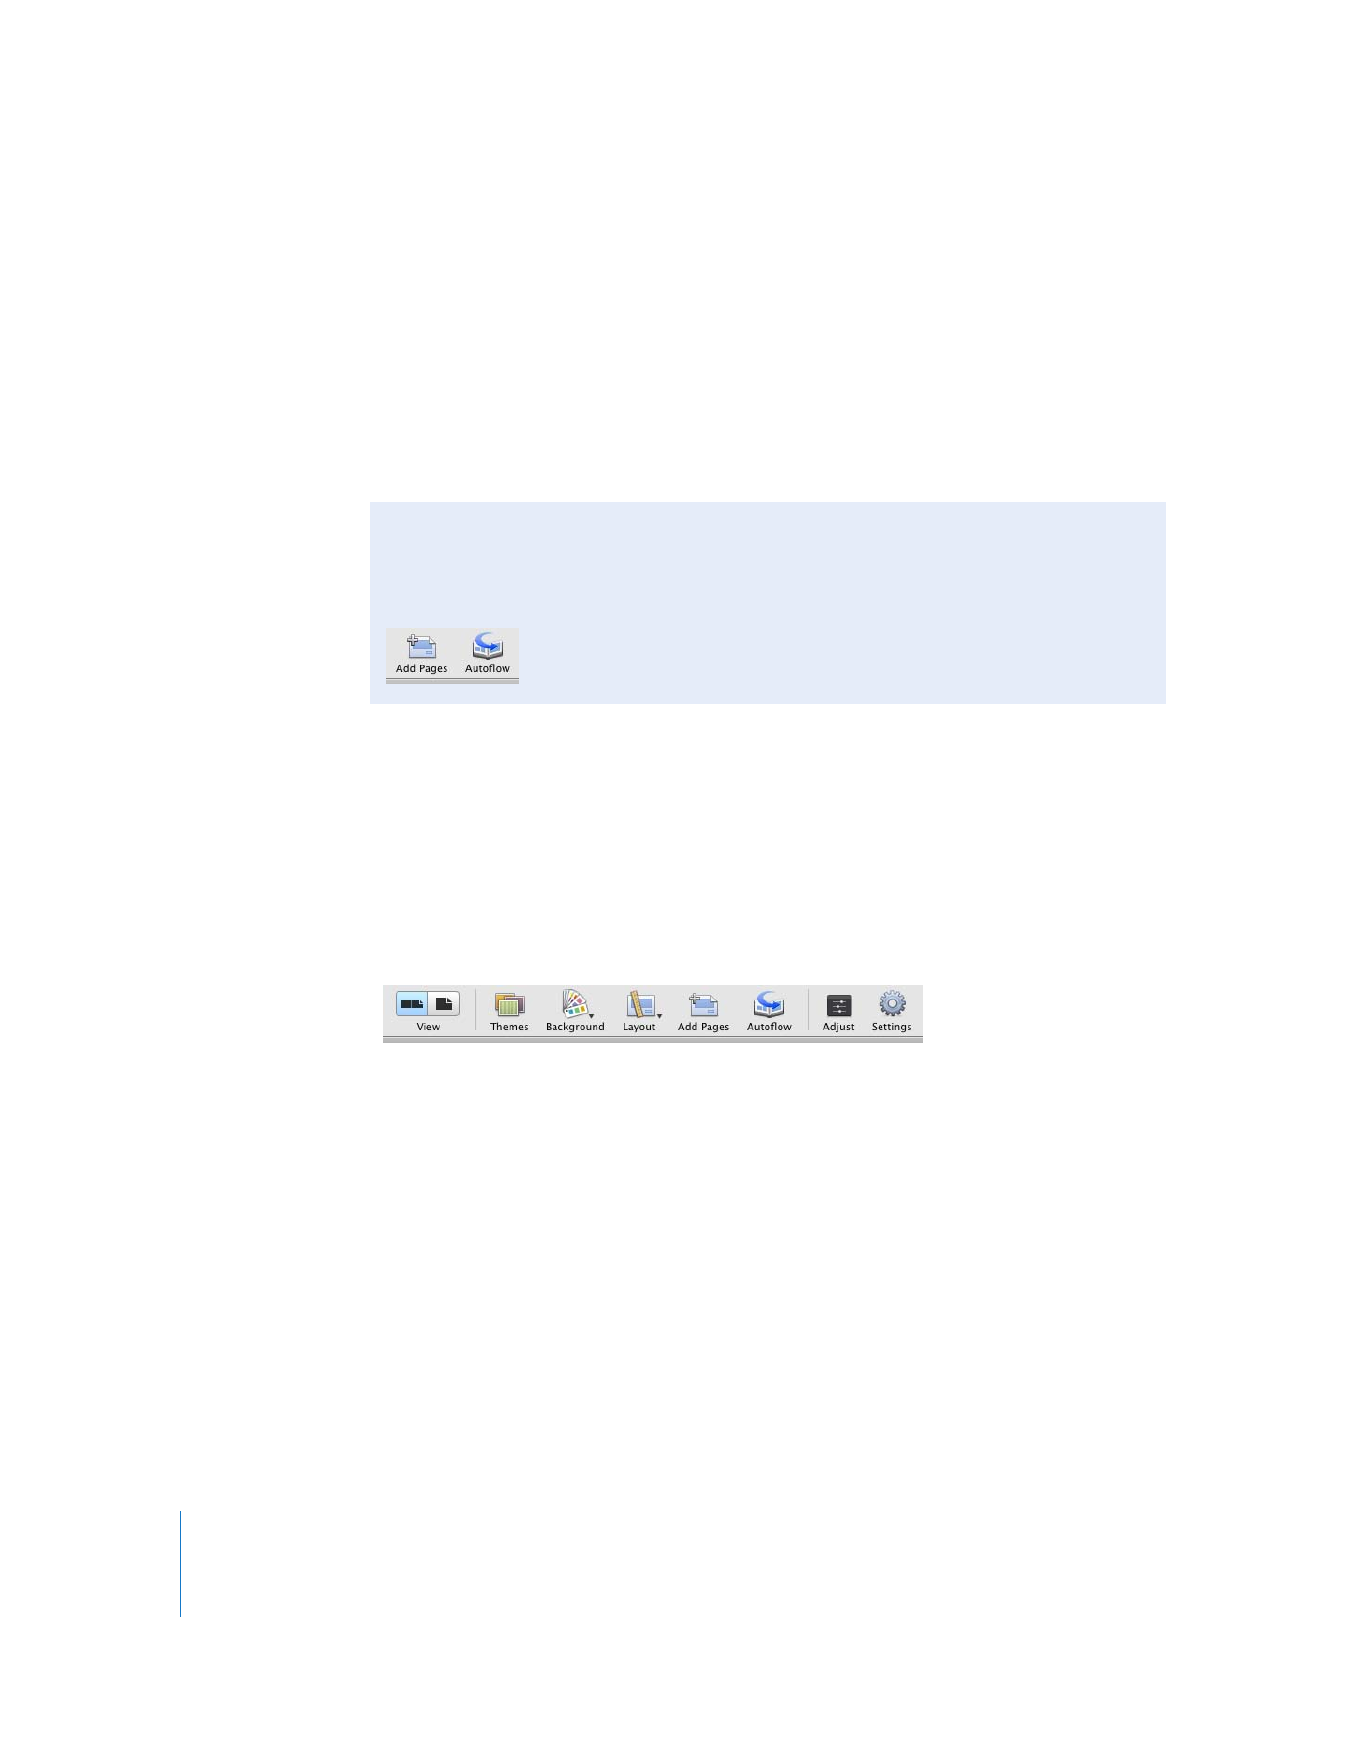
Click the Add (+) button in the bottom-left corner of the iPhoto window.
3
Click the Book button in the dialog.
4
Type a name for your book.
5
Choose a hardcover, softcover, or wirebound softcover book size from the Book Type
pop-up menu.
6
Select a theme for your book from the scrolling themes list.
When you select a book theme, you can see an example of it to the right of the themes
list. (For detailed descriptions and prices, click the Options + Prices button to go to the
iPhoto website.)
7
Click Choose. iPhoto switches to book view.
Your new book appears in the Source list, and the photos you selected are shown
above in the photo browser as thumbnails.
Another Way to See Photos as a Slideshow
You can view any combination of photo albums or individual photos as a temporary
slideshow. Simply click to select the photos or albums you want to view, and then
click the Play button in the bottom-left corner of the iPhoto window.
Play button
16
Chapter 2
Learn iPhoto
If you chose a hardcover book and want photos to be printed on only one side of the
book’s pages, click the Settings button and deselect the “Double-sided pages”
checkbox in the dialog.
8
Drag photos from the photo browser to photo frames on your book pages.
A thumbnail for each photo used will remain in the photo browser, marked with a
checkmark to show that photo is in use. If you have more photos than you need to fill
up all your book pages, you can leave the extras in the photo browser. If you need
more photos, see the next section, “Making Changes to Your Book”.