
Step 1: Import Your Photos
To edit and share your photos, you must first transfer them to your computer. This
transfer process, known as importing, copies the photo files from their original source
into iPhoto, where you can then work with them in a variety of ways.
Importing from a digital camera is the most common method of transferring photos to
iPhoto.
To connect your camera to the computer:
1
Open iPhoto, located in the Applications folder on your computer.
2
Turn off your camera.
3
Plug the A connector (shown above) on your USB cable into the USB port on your
computer.
Chapter 2
Learn iPhoto
7
4
Plug the B connector (shown above) on your USB cable into the USB port on your
camera.
5
Turn on your camera.
Your camera should appear below Devices in the iPhoto Source list, located on the left
side of the iPhoto window. The pictures in your camera will appear in the viewing area.
If nothing happens when you connect your camera, make sure it’s turned on and set to
the correct mode for importing photos. For information about which mode to choose,
see the instructions provided with your camera.
Also, you can set your preferences to open iPhoto automatically when you connect
your camera. To do so, choose iPhoto > Preferences and click General at the top of the
dialog. Choose iPhoto from the pop-up menu labeled, “Connecting camera opens.”
To import your photos from a digital camera:
1
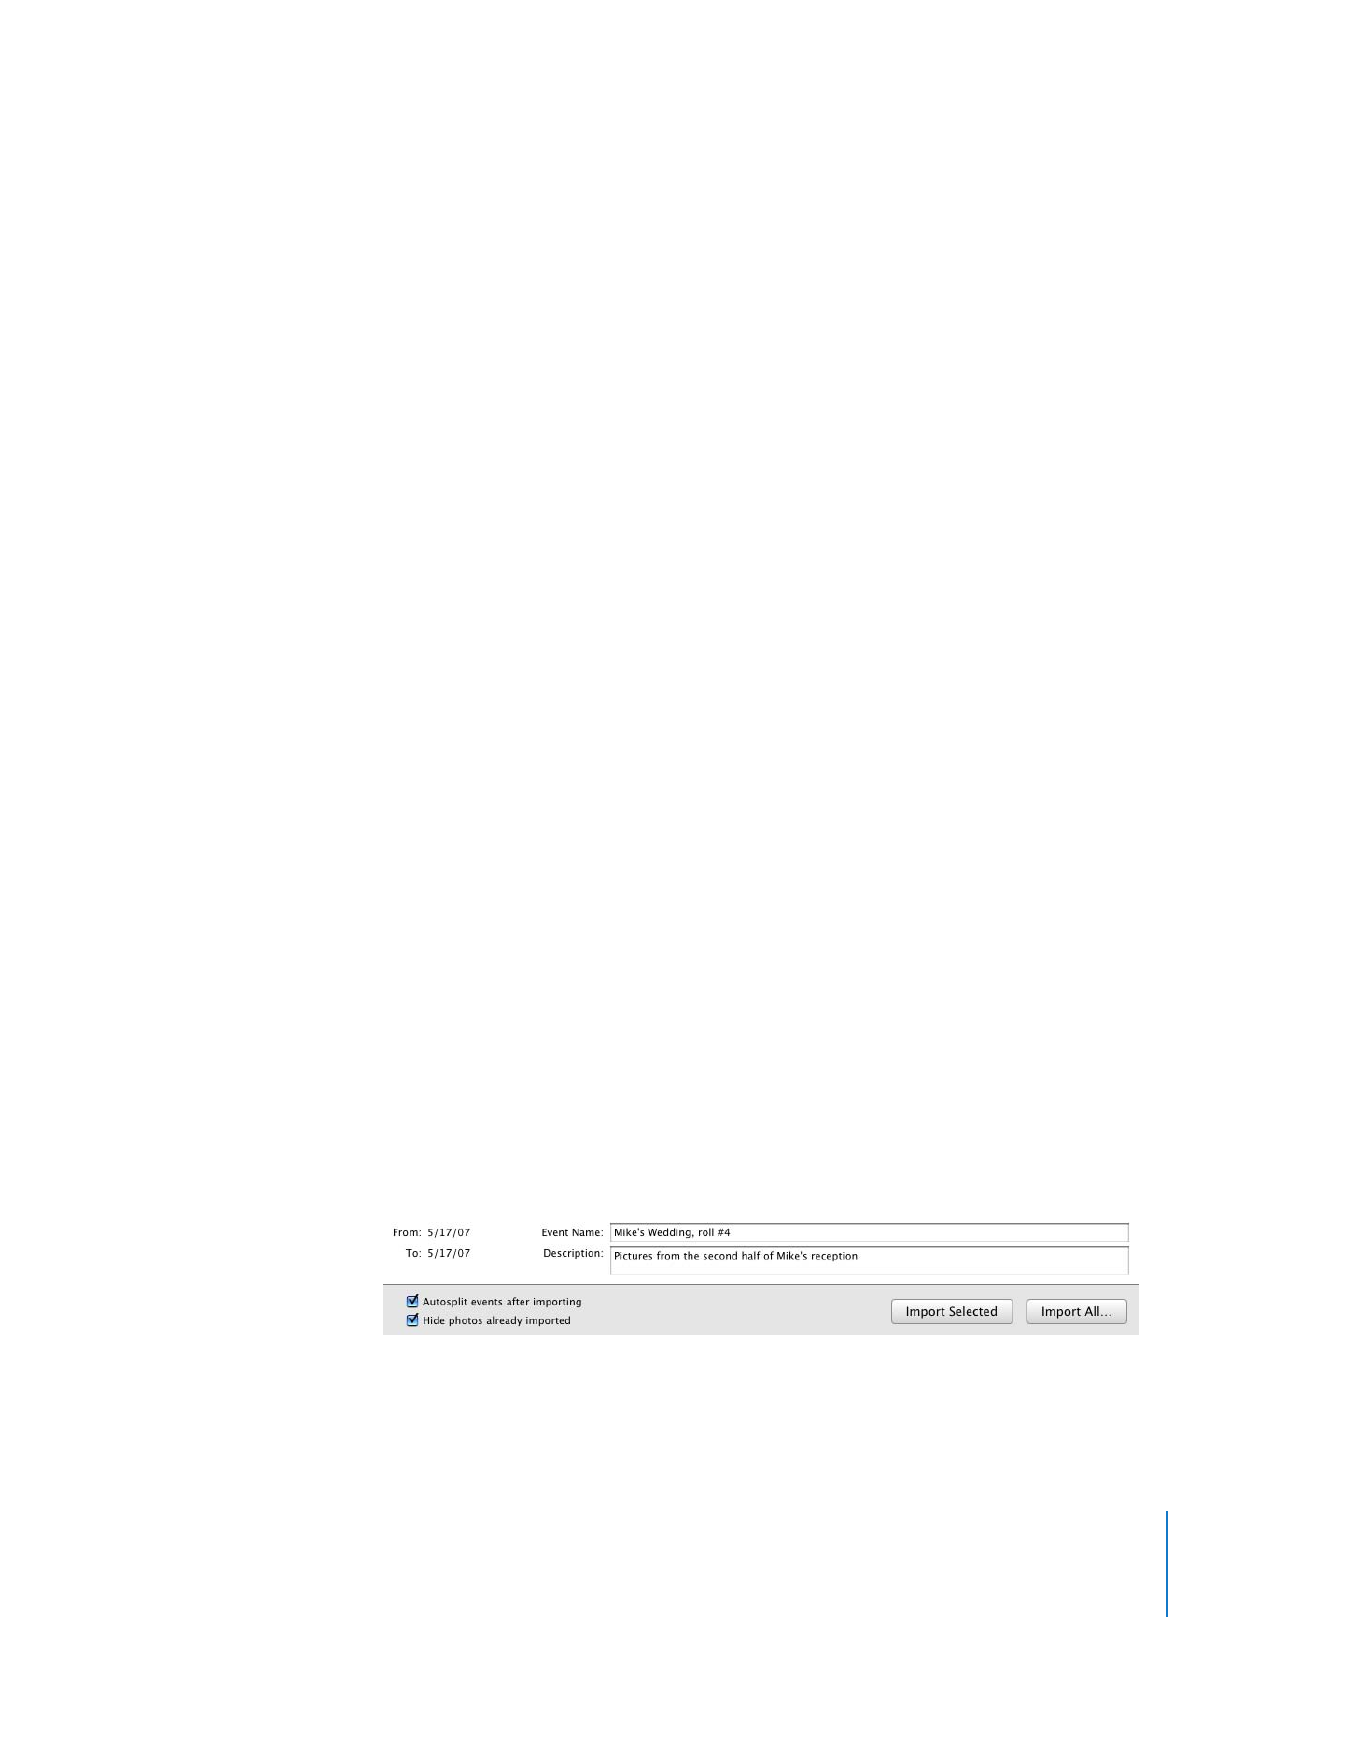
Type a name in the Event Name field that describes the group of photos you’re
importing (for example, “Mike’s Wedding, roll #4”).
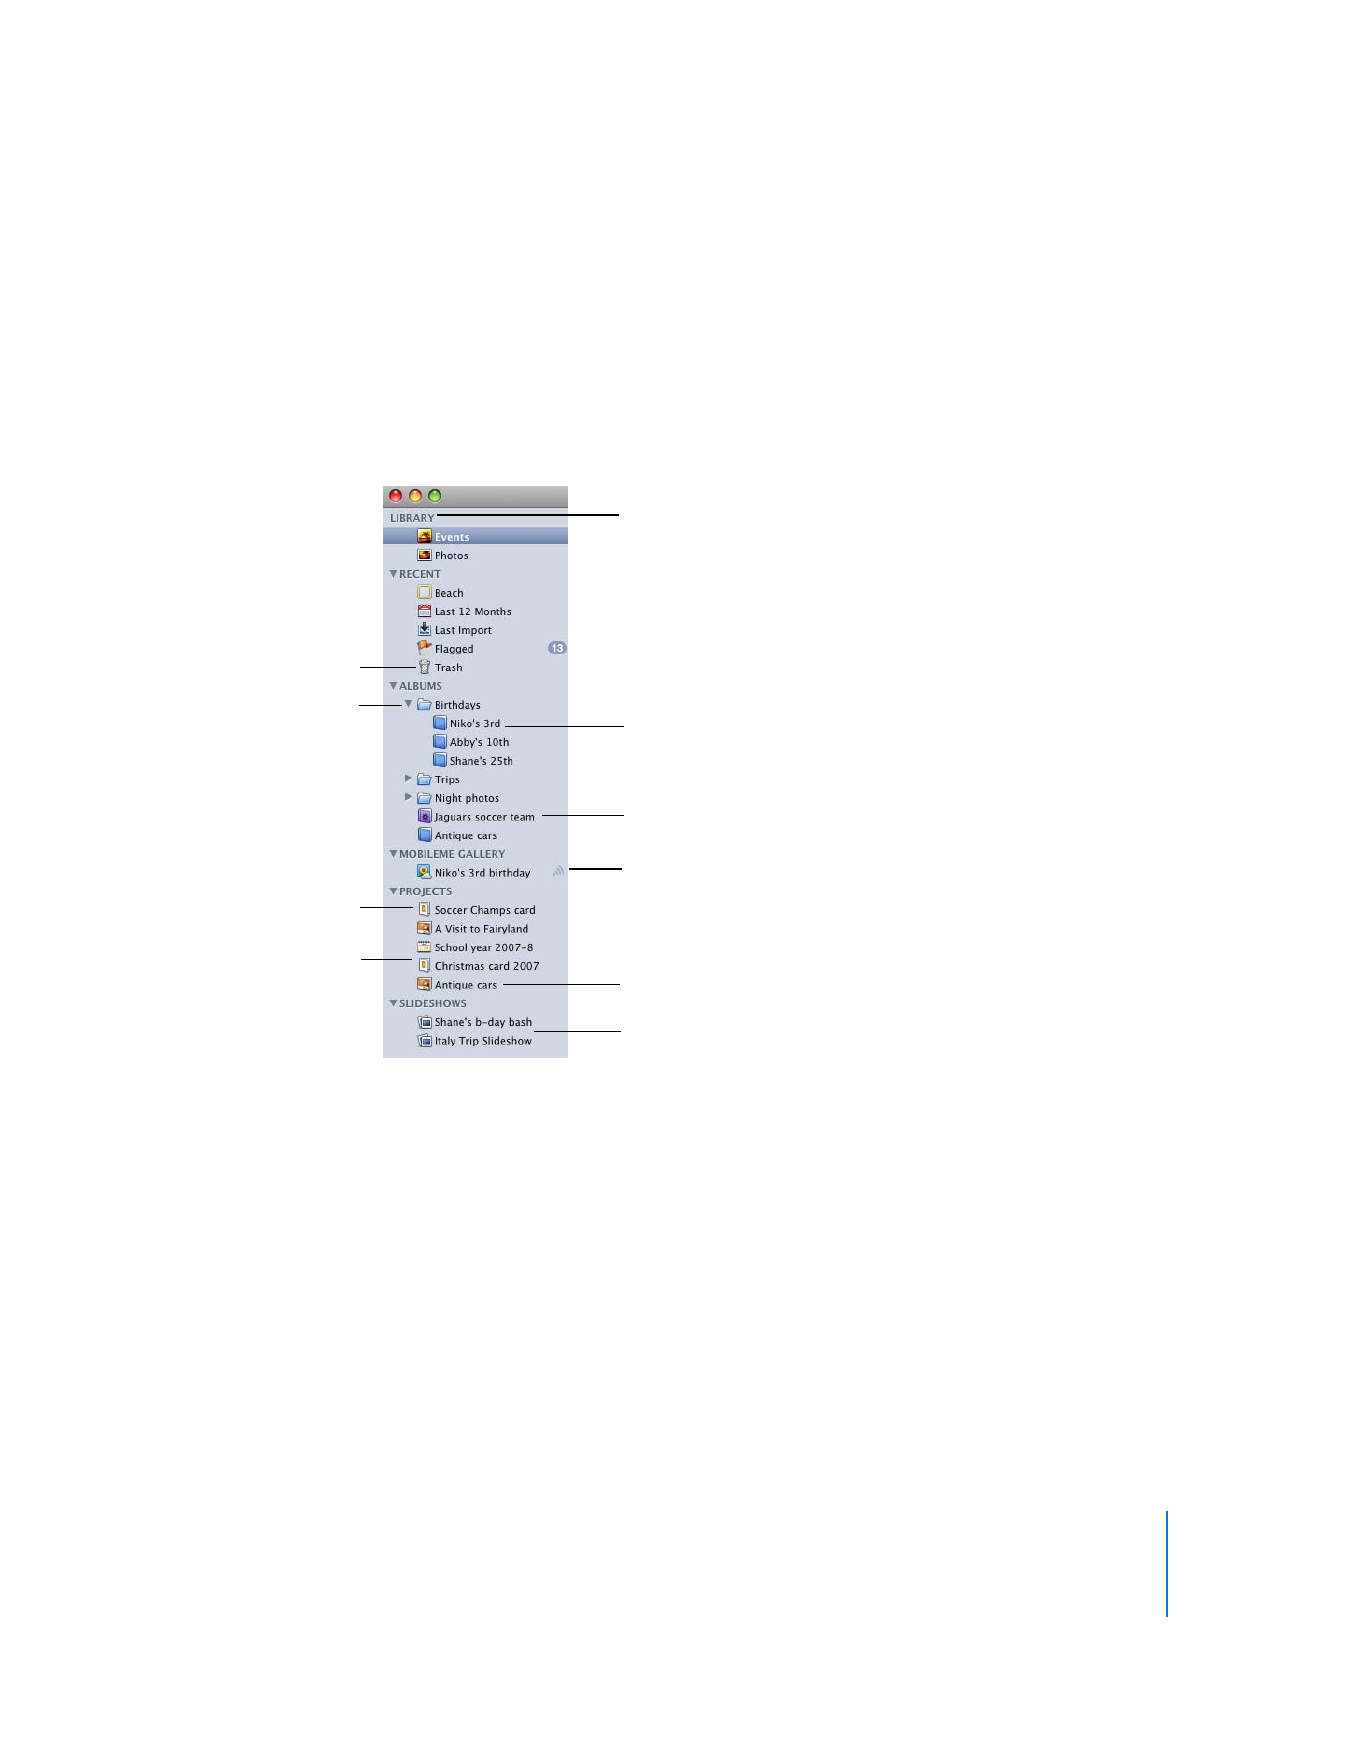
Your photos will be imported into an Event group of that name. Photos are organized
into Events in the iPhoto library so they’re easy to find and view.
2
Type a description (for example, “Pictures from the second half of Mike’s reception”) in
the Description field for the group of photos.
3
If you want, you can select the “Auto split Events after importing” checkbox.
This is useful if you are importing photos from several different days. iPhoto will
automatically split your photos into several different Events in the iPhoto library.
4
If you have already imported some of the photos in your camera, you can select the
“Hide photos already imported” checkbox so that you see only the new photos in the
Import window.
5
You can also choose to import only some of the images. To do so, hold down the
Command (x
) key as you click each photo you want.
6
To import all your photos, click the Import All button. If you have selected specific
photos to import, click the Import Selected button.
To stop importing your photos at any time during the process, click Stop Import.

8
Chapter 2
Learn iPhoto
Before disconnecting your camera, wait until all your photos have been imported into
iPhoto (or click Stop Import). If your camera has a sleep mode, make sure it’s disabled
or set to a time increment long enough to allow your images to download. For more
information, see the instructions that came with your camera.
To view your pictures, click Last Import (in the Source list) or click Events and view your
photos by Event.
To disconnect your camera from your computer:
1
Drag the camera’s icon to the iPhoto Trash.
2
Turn off your camera.
3
Disconnect your camera from your computer.
You’re now ready to view and organize your photos.
Importing Photos
Without
Using a Digital Camera
In addition to importing photos on a digital camera, you can import photos that are:
Â
Saved on a CD. (When you take your 35 MM. film to be developed, ask if the photo
developer can store your photos on a CD or floppy disk. Many offer this service.)
Â
Saved on a DVD or flash drive.
Â
Located in a file or folder on your hard disk.
Â
Saved on a memory card.
If you’re not using a digital camera, for best results, ensure that all photos are in JPEG
format.
To learn more about importing photos, see the topics in iPhoto Help.
Chapter 2
Learn iPhoto
9